Console3DEnquire

THE CONSOLE3D WORKFLOW

One Bedroom. Four Stages.
One Connected Workflow.

Follow a single 4.8 × 4.2 m bedroom from a measured plan through model review, draft finishes and final presentation.

Illustrative showcase created from one local 3D scene. The model and draft share a camera; the final is an AI-assisted material visualization based on that same scene and room layout. This explains the workflow; it is not a live editor or an automated product-output claim.

01 / PLAN

Start with Your Floor Plan

Bring an architectural drawing or floor plan into your workflow. Review dimensions and define the room layout before creating the 3D space.

DWG · PDF · JPG · PNG
Confirm a known dimension and units. A photograph alone does not establish accurate scale.
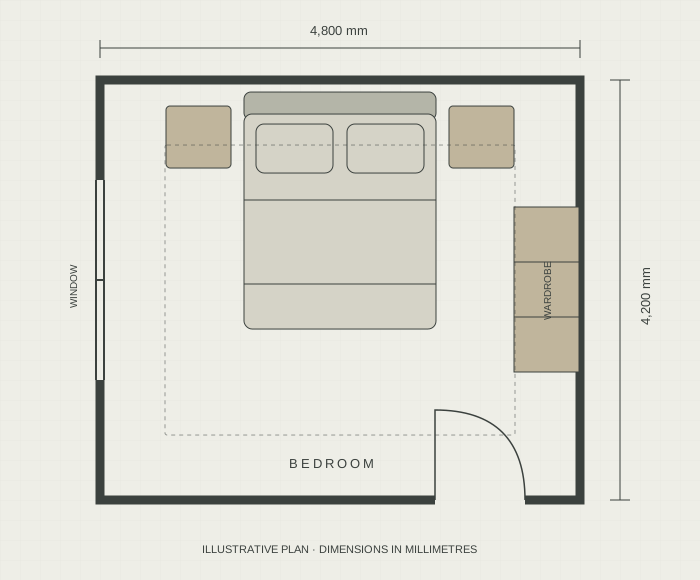
Dimensioned 4.8 by 4.2 metre bedroom plan with door, left window, centred bed, side tables and right wardrobe.
PLAN / BEDROOM 01Same room · 4.8 × 4.2 m
02 / MODEL

Build an Editable 3D Room

Turn the plan into a spatial model. Review wall geometry, openings, furniture placement, and proportions in 3D.

Geometry · Openings · Furniture
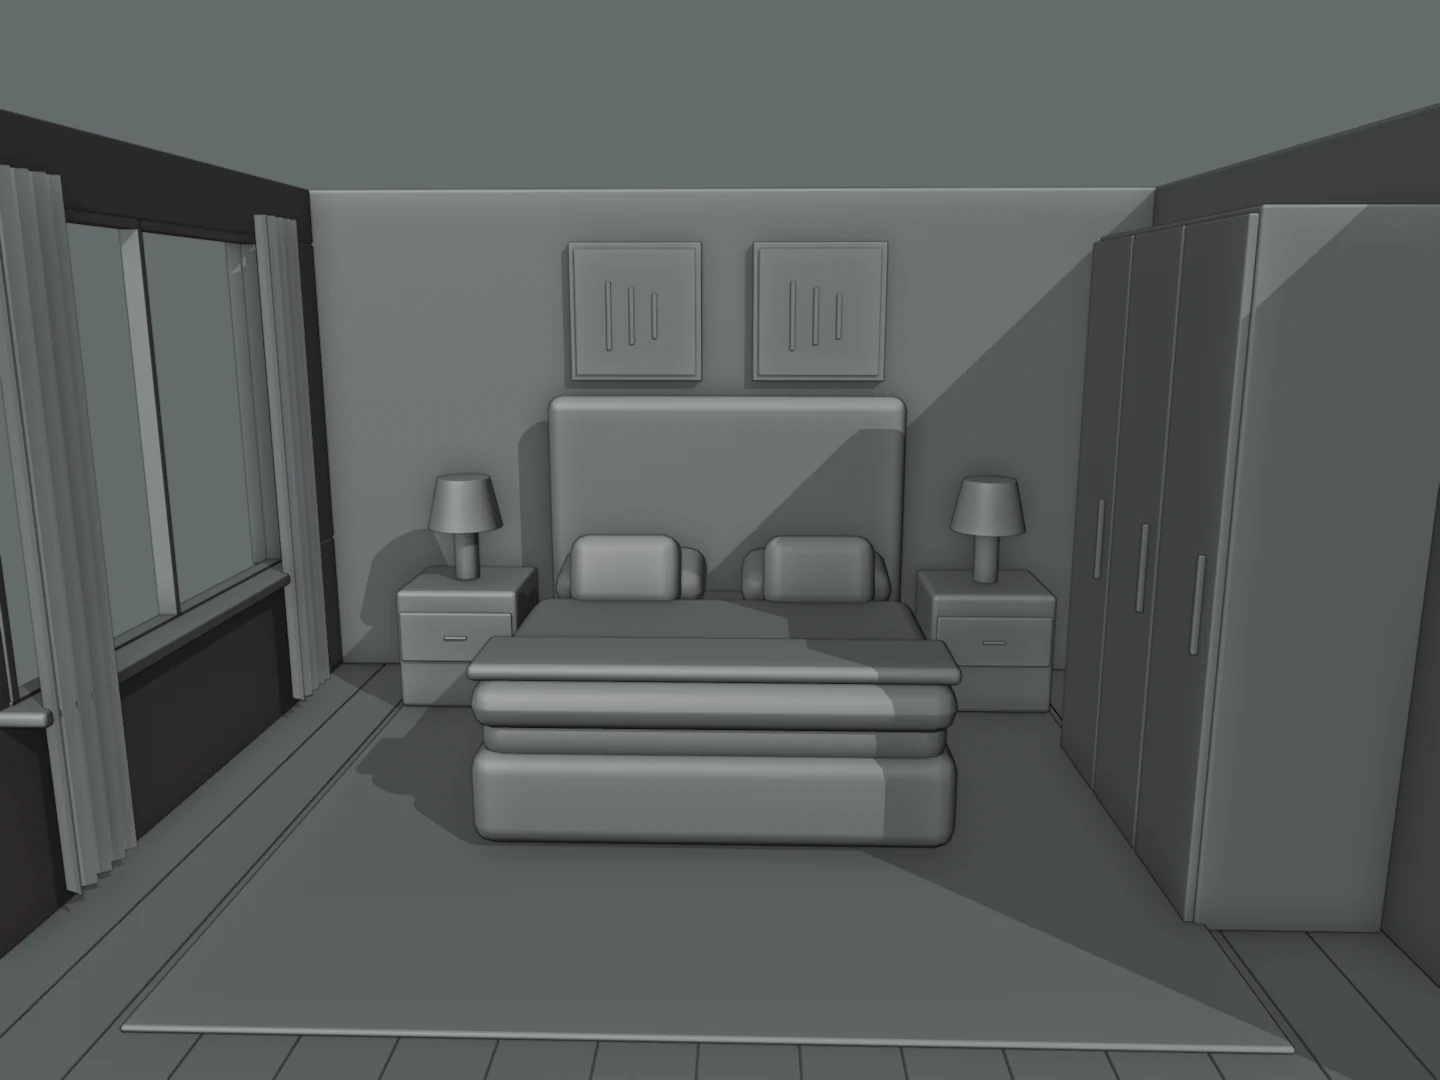
Illustrative viewport. Front wall and ceiling are hidden for visibility, not removed from the room design.
Neutral material model of the same bedroom with centred bed, two side tables, left window and right wardrobe.
MODEL / BEDROOM 01Same room · 4.8 × 4.2 m
03 / REFINE

Refine Every Detail

Review furniture placement, adjust materials, explore finishes, and use reference images to guide the design before preparing the final presentation.

Draft Preview · Material Review · Design Adjustments
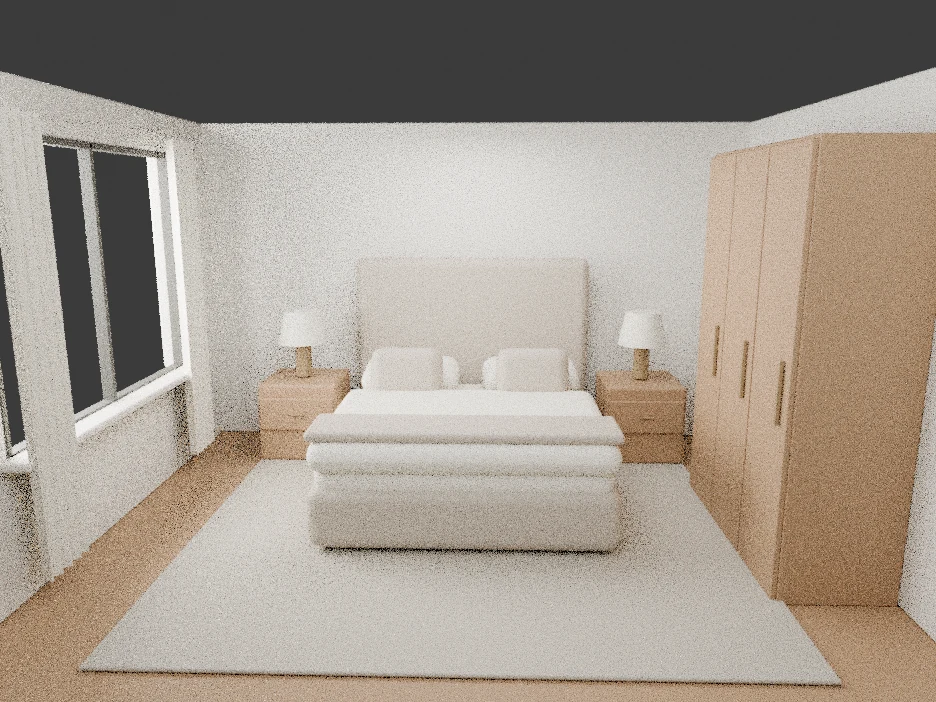
Draft lighting and basic materials help review decisions before the final presentation.
Low-sample draft of the same bedroom, with simple materials and unfinished lighting.
DRAFT / TEST RENDERSame room · 4.8 × 4.2 m
04 / RENDER

Present the Final Vision

Prepare polished interior views with considered materials, lighting, camera angles, and reference-led rendering.

Materials · Lighting · Presentation
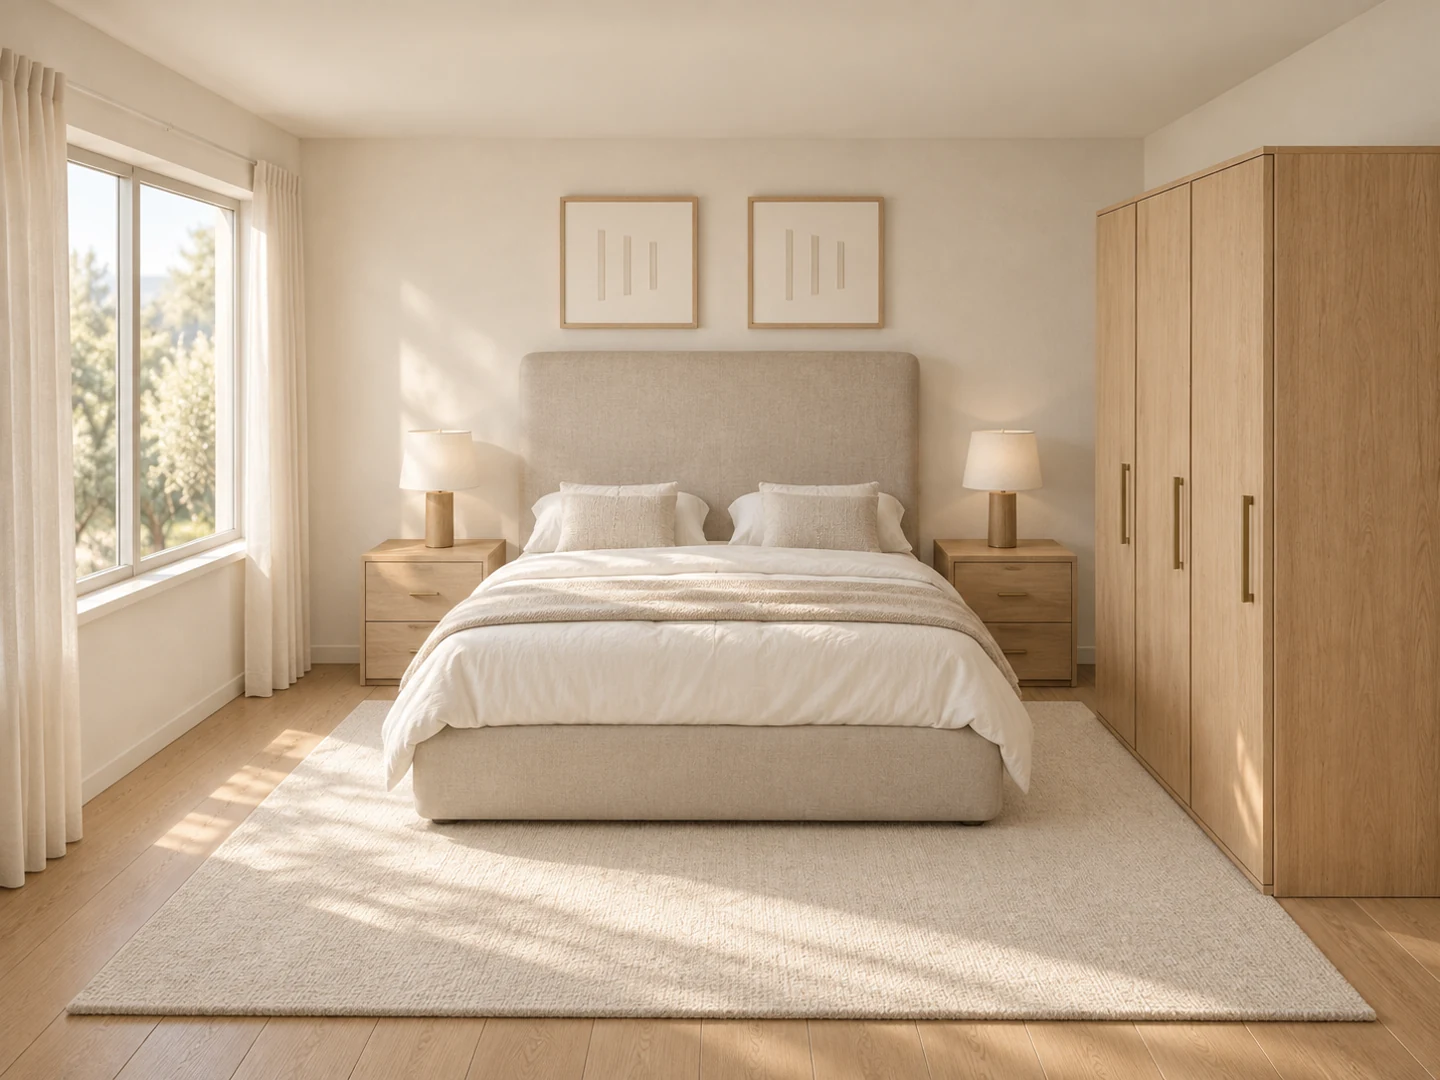
Illustrative final visualization, not a customer project or a guaranteed one-click output.
Finished view of the same bedroom with warm ivory bedding, oak furniture and natural daylight.
RENDER / BEDROOM 01Same room · 4.8 × 4.2 m

THE DESIGN TOOLKIT

Everything You Need for Your Design Workflow

Plan Import

Bring supported drawings, plan images and documents into your project.

3D Room Modeling

Create editable room geometry through your selected modeling application.

Interactive 3D Preview

Inspect placement, measure distances and save camera views.

Furniture & Model Library

Place compatible furniture and assets, with a review before commit.

Materials & References

Link reference images to selected objects or wall faces to guide finishes, design edits and rendering.

Camera & Render Workflow

Set up lighting in supported Blender scenes, review draft camera renders and prepare reference-led render handoffs.

2D Furniture Layouts

Plan furniture in compatible DWG workflows while preserving architecture.

Local Project Workflow

Reopen projects, review revisions and keep native outputs on your PC.

FIT INTO YOUR PRACTICE

Works with Your Existing Design Tools

AutoCAD3ds MaxSketchUpBlenderRhino

Availability depends on your selected workflow. Relevant local applications are required where their native tools are used; they are not bundled with Console3D.

Plan inputs

DWG, PDF, JPG, PNG, WebP and supported design documents.

Model assets

.blend, .skp and .max in compatible library workflows. Blender placement also supports FBX, OBJ, STL, PLY, GLB/glTF, USD and Alembic through local import.

Existing native editing

Existing project editing currently accepts .max. Library asset support does not mean every format can be opened as a complete project.

Generated outputs

.blend, .skp, .max, .dwg or .3dm, according to the selected modeler. DWG reading requires AutoCAD Core Console; MAX conversion requires 3ds Max.

INSIDE THE WORKSPACE

See Console3D in Action

Console3D · Illustrative interface layout
Illustrative interface layout showing the bedroom model in a viewport.3D MODEL PREVIEW

Clearly labeled interface mockup for explaining the workflow. It is not a screenshot of the released application.

01 / Set upImport the plan and confirm dimensions.

02 / InspectReview the model in a 3D viewport.

03 / RefineAdjust furniture, materials and references.

04 / Save & presentKeep native outputs and prepare render views.

Watch Product Demo — Availability

YOUR NEXT PROJECT

Bring Your Next Design to Life.

Explore a more connected workflow from architectural drawings to editable 3D spaces and finished interior presentations.